
This is a lovely nap time or one evening project if you want something which can be done in a short space of time.
What you will need:
- bib to place your design on
- two small scraps of coordinating fabric -10cm by 10cm (4 in) will be plenty
- sewing machine and coordinating thread
- scissors
- circles to draw around, pencil
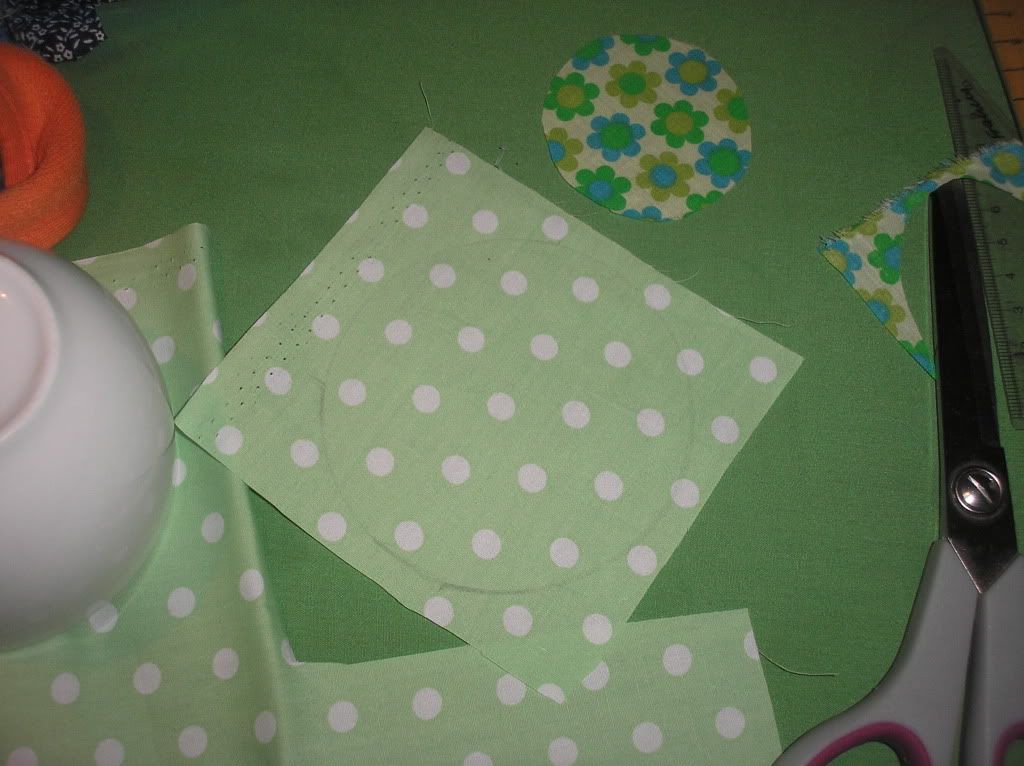
Firstly, draw and cut out two circles of different sizes of each of the fabrics. I used the tea cup and demitasse cup from our dinner set which gave nice proportions.
Pin the smaller circle on top, making sure it is centred.

Now stitch the smaller circle to the larger one. To do this, set your sewing machine to the widest zig zag stitch and the shortest stitch lenght. When you stitch it, line out the outside of the zig zag with the edge of the smaller circle. If you have the edge of the smaller circle in the middle of the zig zag, then it probably won't catch all the way around. (This is because of the circular cut and where the bias lies.)

Remove the pins, pull the threads through to the back and tie off. You need to do this now, since you won't be able to get to the back later.

Pin the two circles onto the bib. Make sure that the design in centered. I may have skipped this step on the green bib...

Sew the larger circle to the bib using the same method as before. Pull the threads through to the back, tie off and trim.

A beautiful bib, all finished in less than an hour. I teamed this green one with a drawstring bag to make a cute gift.


No comments:
Post a Comment